

Opening DDS Tapes
Just a few pictures of how to open a DDS tape, incase you need to perform
tape repair. The following pictures feature a DDS-3 tape.
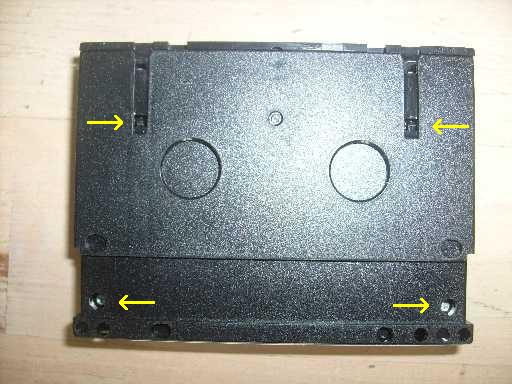
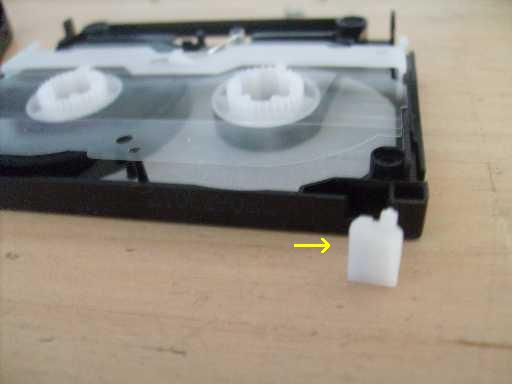
1 - DDS backside with closed slider
There are 4 screws that hold the cartridge together.
The two lower arrows indicate where the two normally exposed screws are located.
The two upper arrows indicate the slider locking pins.
Remove the sticker label from the side of the cartridge,
if there is one. This label would hold the two cartridge halfs together.
Remove the two exposed screws
Press the slider pins in, and move the slider down
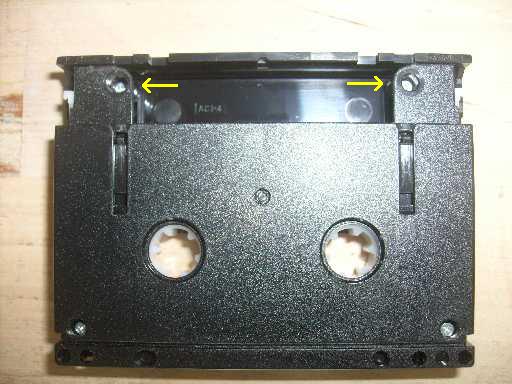
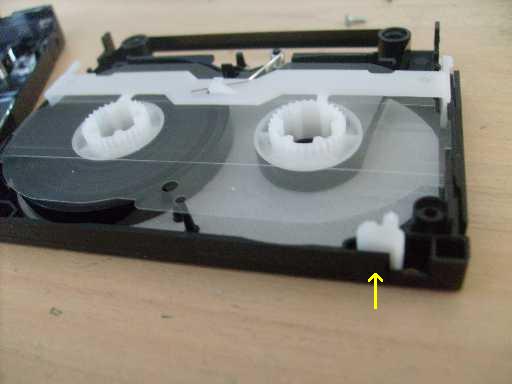
2 - DDS backside with open slider
With the slider down, you should see the other two screws, as indicated by
the arrows.
Remove the two remaining screws
Turn the DDS upside right with the backside on the table
CAREFULLY lift the top half cartridge off from the bottom half.
Inside are loose parts like springs and the Write Tab.
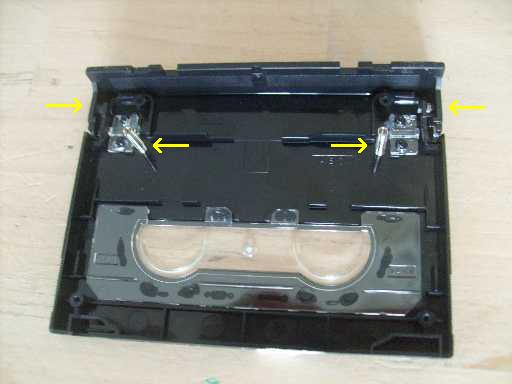
3 - DDS inside-top
Note the location of the springs in the top, indicated by the arrows
Be carefull not to separate the flip-open door from the top cartridge
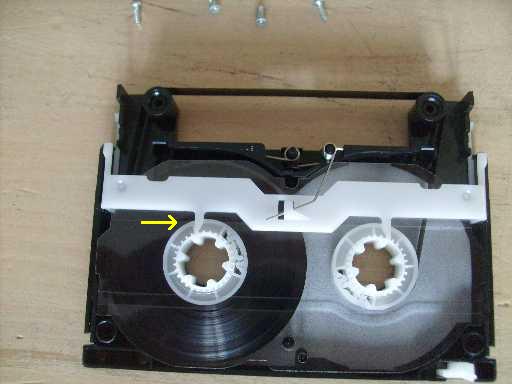
4 - DDS Internal view
The spring-action white bar slides forward to unlock the reels, and back
to catch the gears on the reels, locking them from turning.
Take care not to touch the tape with your fingers, if possible.
5 - DDS Write Tab
The Write Tab easily falls out. Nothing holds it in place.
6 - DDS Write Tab in proper position
Place the Write Tab back into position
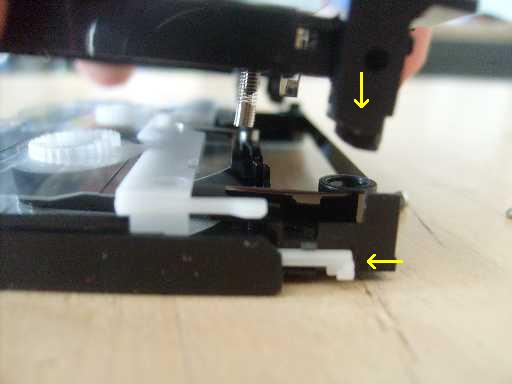
7 - DDS Unlocking mechanism
Note how the lock works. When the flip-open door is raised, the
door ends rotate, catching the white bar arms, pulling the bar forward,
which unlock the reels.
(Top)
3kRanger Home
3kRanger Mail
CheckIP
Updated:
Sat Mar 26 2011 12:26:17