

Replacing the Micro3000 XE UPS Battery
Since I was fixing my PowerTrust batteries, I decided I should also fix the MicroXE ones.
I got replacement batteries from Batteries Plus for $13 US dollars, 25 March 2011.
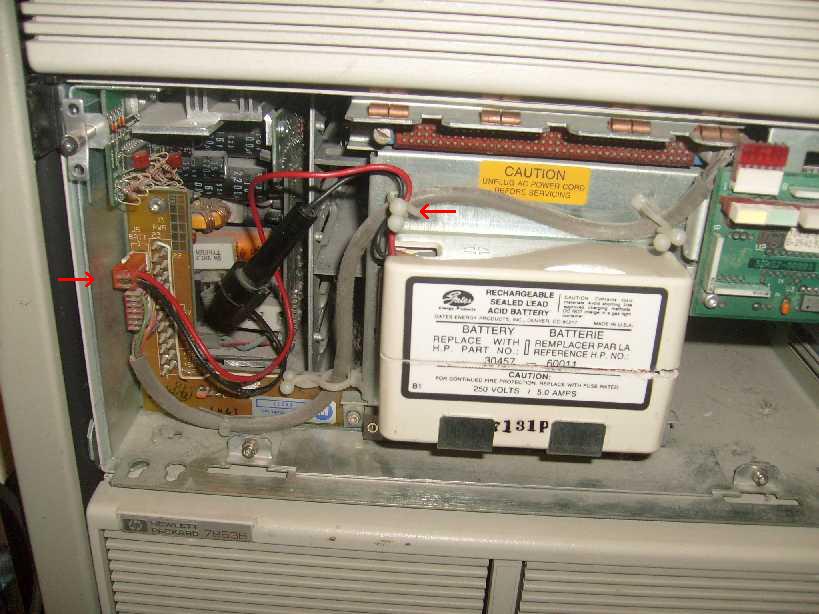
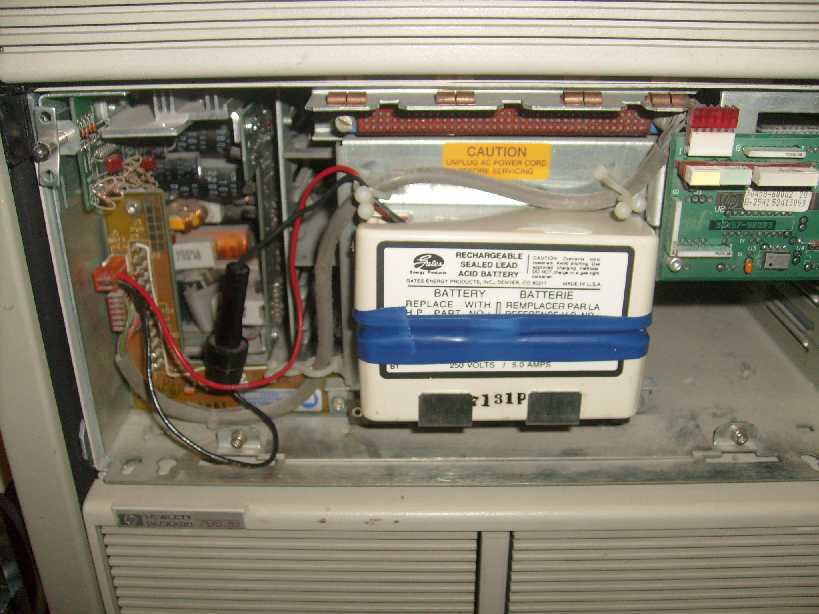
1 - XE front lower bay -- battery access
Pretend that you don't notice the crack/cut around the middle of the battery case.
I hadn't thought about documenting this until after I had it opened.
Also, I didn't mention how to get the front cover plate off either. See the last picture
on putting it back on to see how it comes off.
Unplug the battery case from the computer.
Untwist the white plastic wire clamp, remove the red and black wires.
Then lift the battery case out.
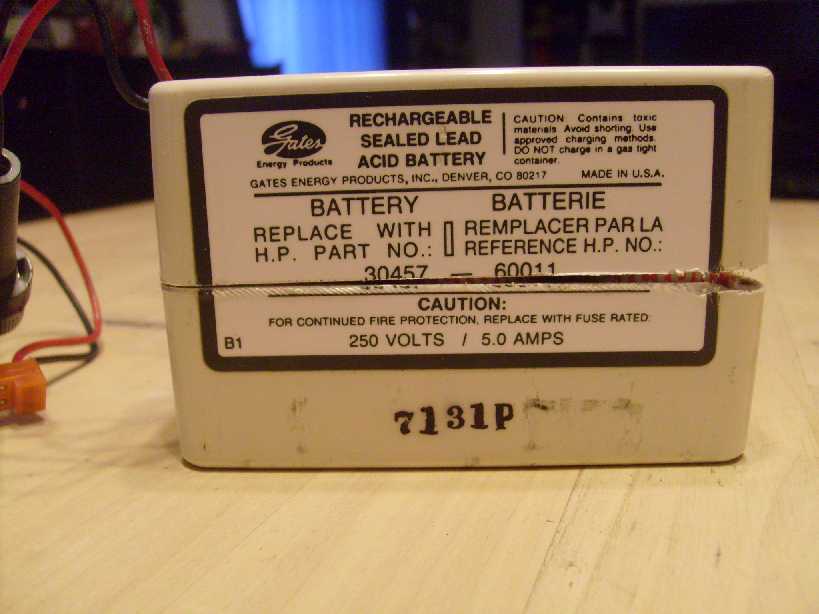
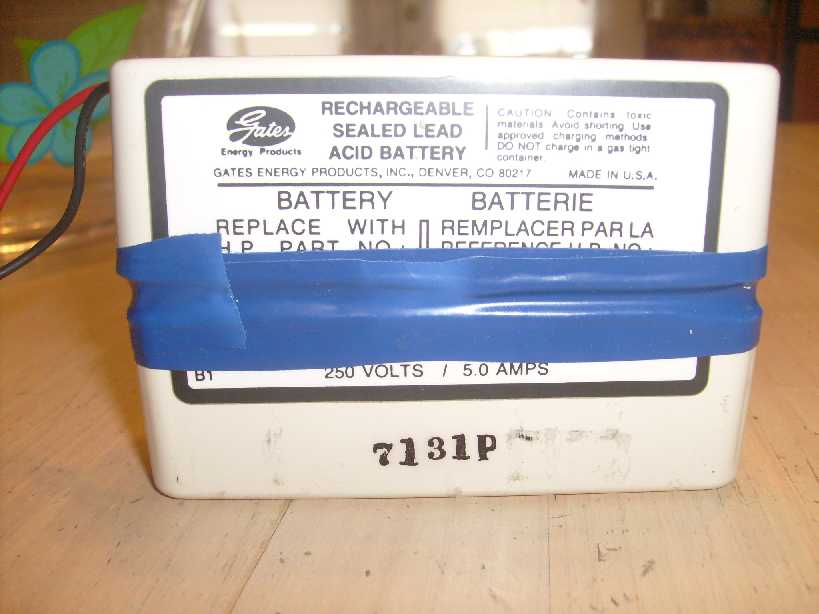
2 - XE battery case
The 2 halfs of the case are held together by 4 pins from the bottom half
that plug into 4 matching holes in the top half (see next picture).
Because this was unknown at the time, and the case just would not budge
in any direction, I used a hack saw to cut into the corners, on the right side
as seen in the photo. That's when I discovered how the case came together.
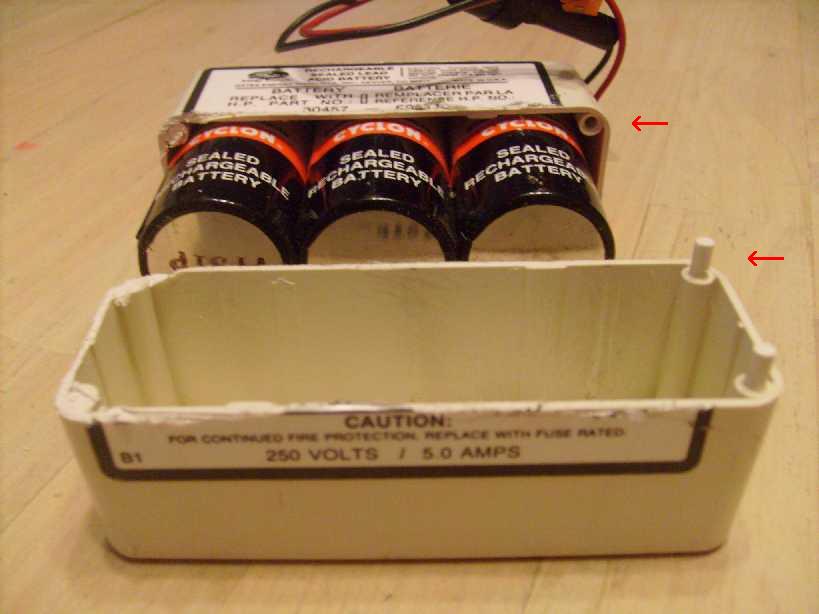
3 - XE battery case appart
Here you can see the pins and holes.
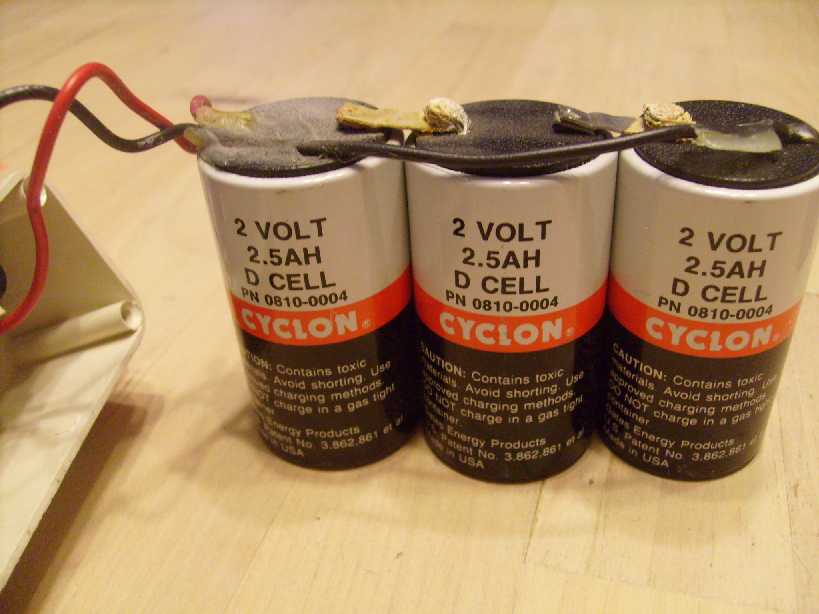
4 - XE old batteries
The batteries are 2v 2.5ah, connected in series, soldered.
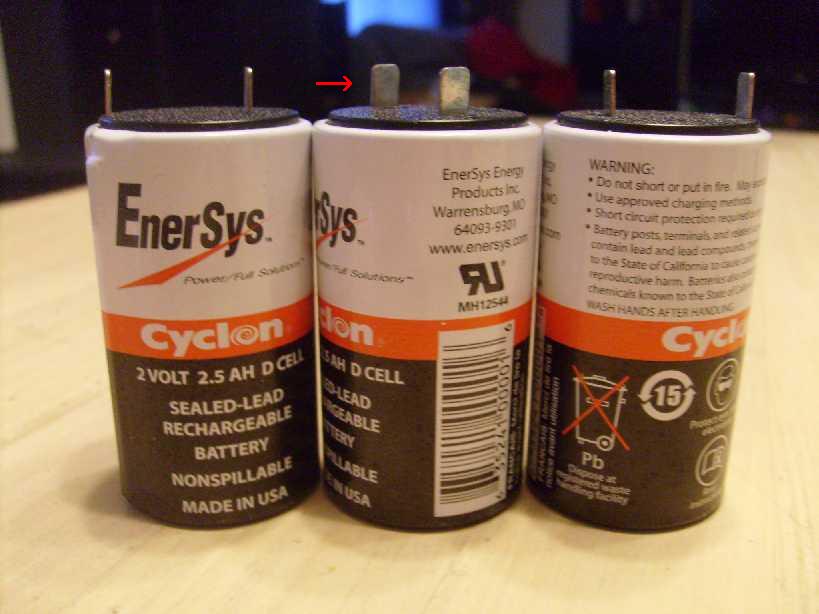
5 - XE new batteries
The replacement batteries are the same.
The tabs on the batteries are 0.187 inch.
Well, what I bought were Quick Disconnects female 0.187"
from an auto-parts store and a roll of 16 gauge wire.
So the tabs are slightly less wide.
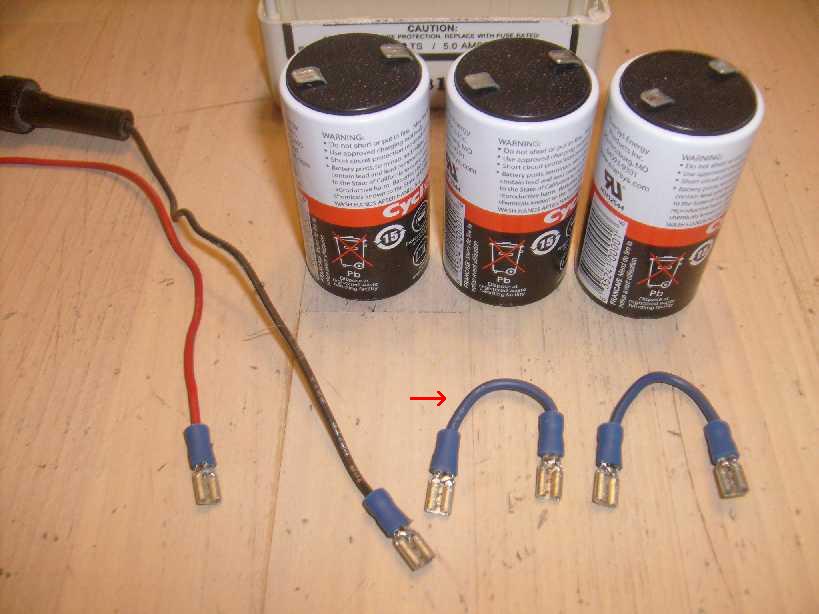
6 - XE battery connectors
Cut the red and black wires from the batteries.
Cut 2 short wires (mine are about 2 1/4 inches) from the 16 gauge roll.
You may want to consider soldering, in which you should tin the wires before crimping.
Attach 6 Quick connects with a crimping tool, then complete the soldering if you choose.
Bend the battery tabs down to a horizontal position. I used a quick connect on the tab and bent them down.
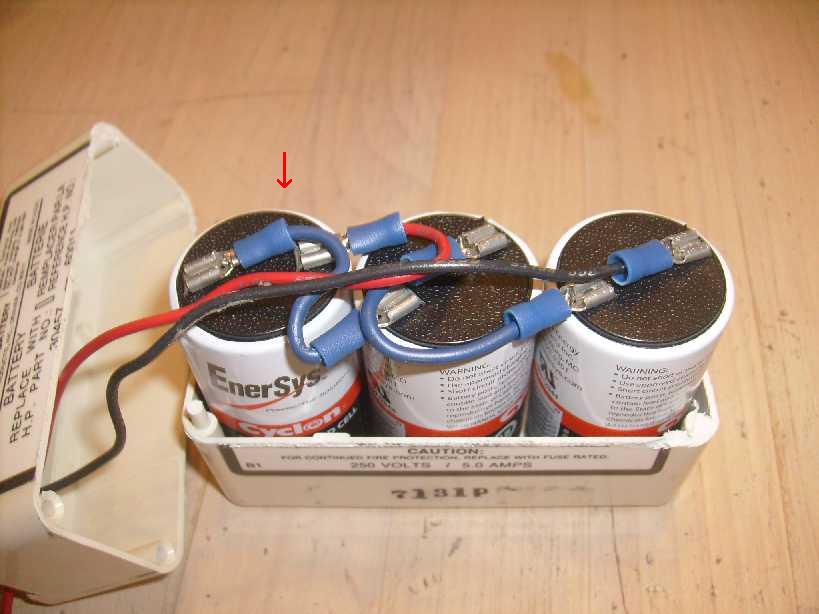
7 - XE batteries connected
Insert the new batteries into the battery case.
Attach the connectors to the batteries in series.
See that I rotated the one battery on the left such that the red connector does not extent beyond the casing.
You may wish to check the wiring with a volt meter (6v) to be sure all is well.
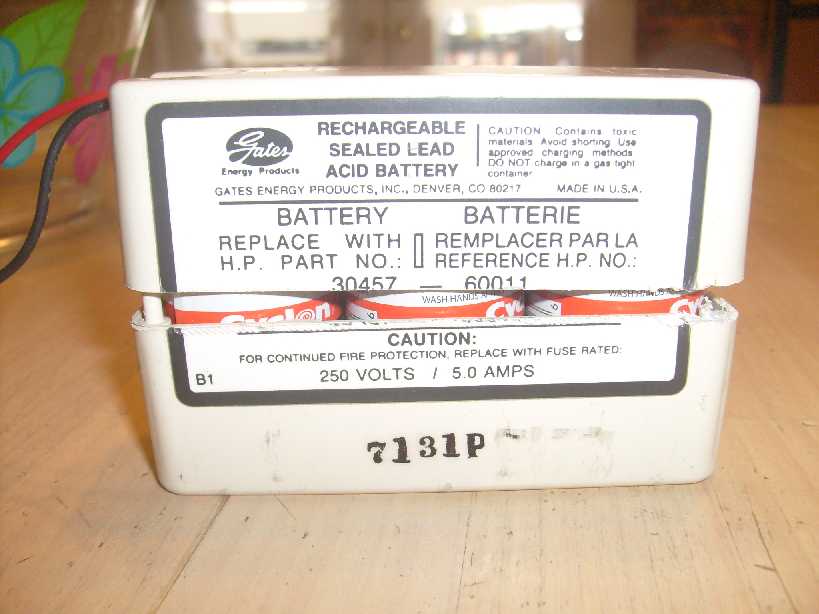
8 - XE batteries encased
Place the top case half on top of the batteries.
9 - XE batteries sealed
Using electrical tape, seal the case halfs together.
10 - XE batteries installed
Reinstall the battery case.
Retwist the wires in the wire clamp.
Plug the battery case connector back into the computer.
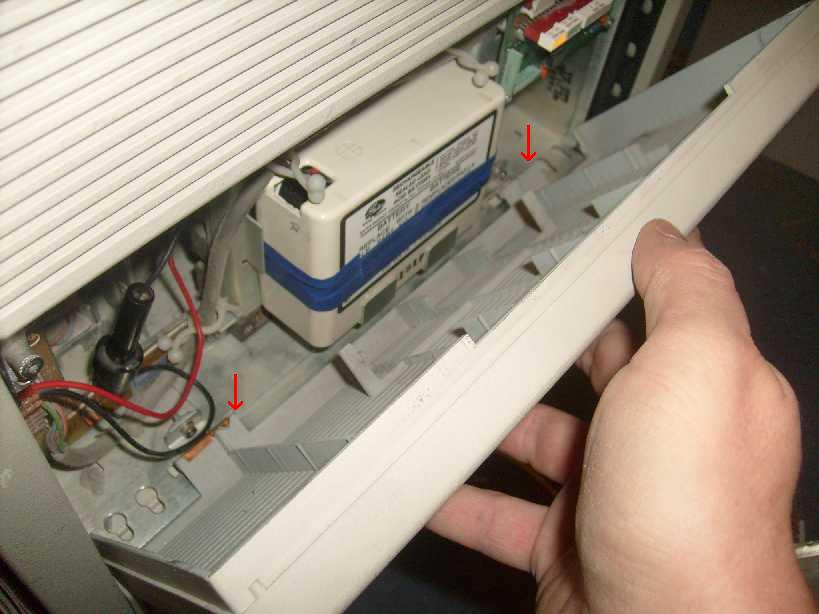
11 - XE closing front panel
Place the bottom panel tabs (see the red arrows) into the bottom slots.
Rotate the panel top back into the computer case.
(Top)
3kRanger Home
3kRanger Mail
CheckIP
Updated: